Zapier examples using Pinch
Example use cases of the Pinch Zapier integration to help get you started.
Here are some pre-made Zaps to get you started or you can find more on the Pinch Payments integration page.
Creating Payers in Pinch from external forms
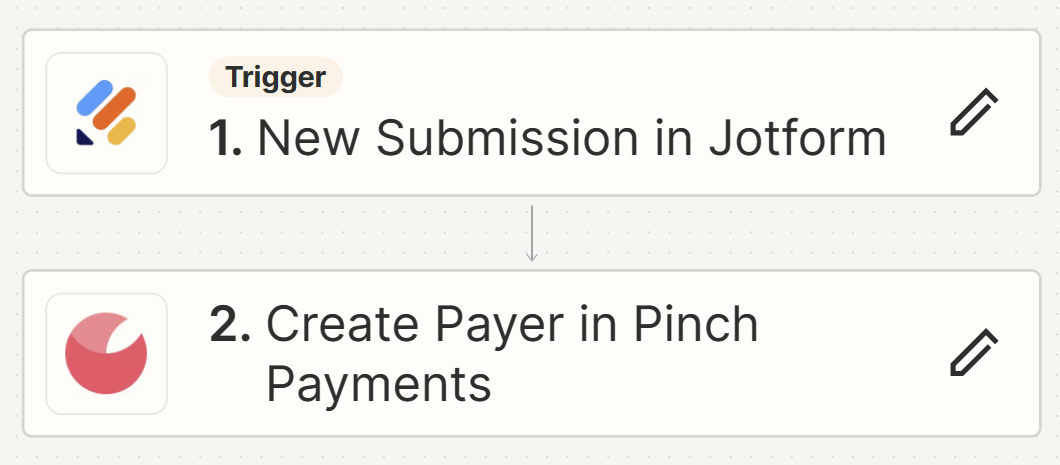
This example outlines how to use a form build app with Zapier (in this instance Jotform) to create Payers in your Pinch account. Use this template
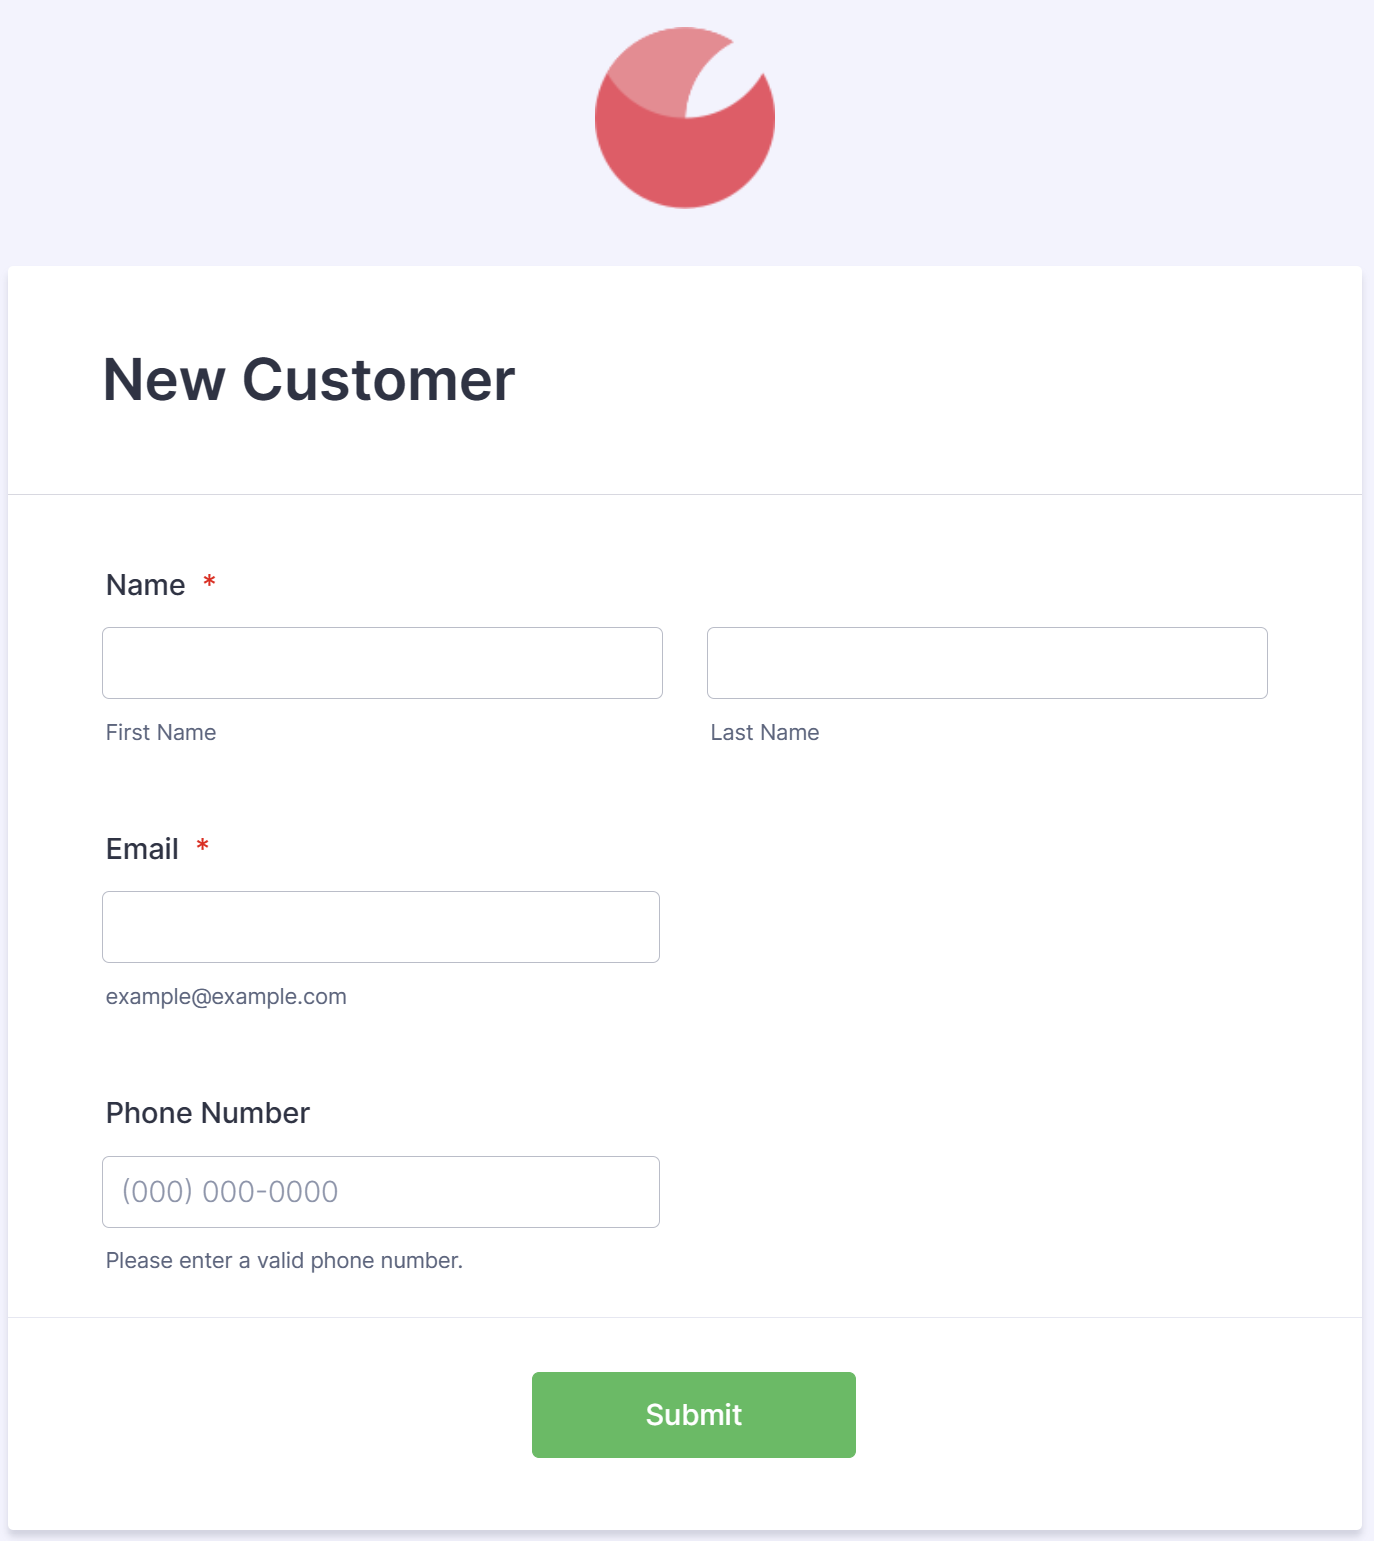
First thing to do for this example is to create the form in Jotform that we will use as the data capture for the customer and the trigger for the Zap.
The minimum required field to create a Payer in Pinch are Name and Email. The form created for this example will contain required fields for First name, Last name and email with an optional field for phone number. See the example below.
Once the form is created and published we can start creating our Zap in Zapier.
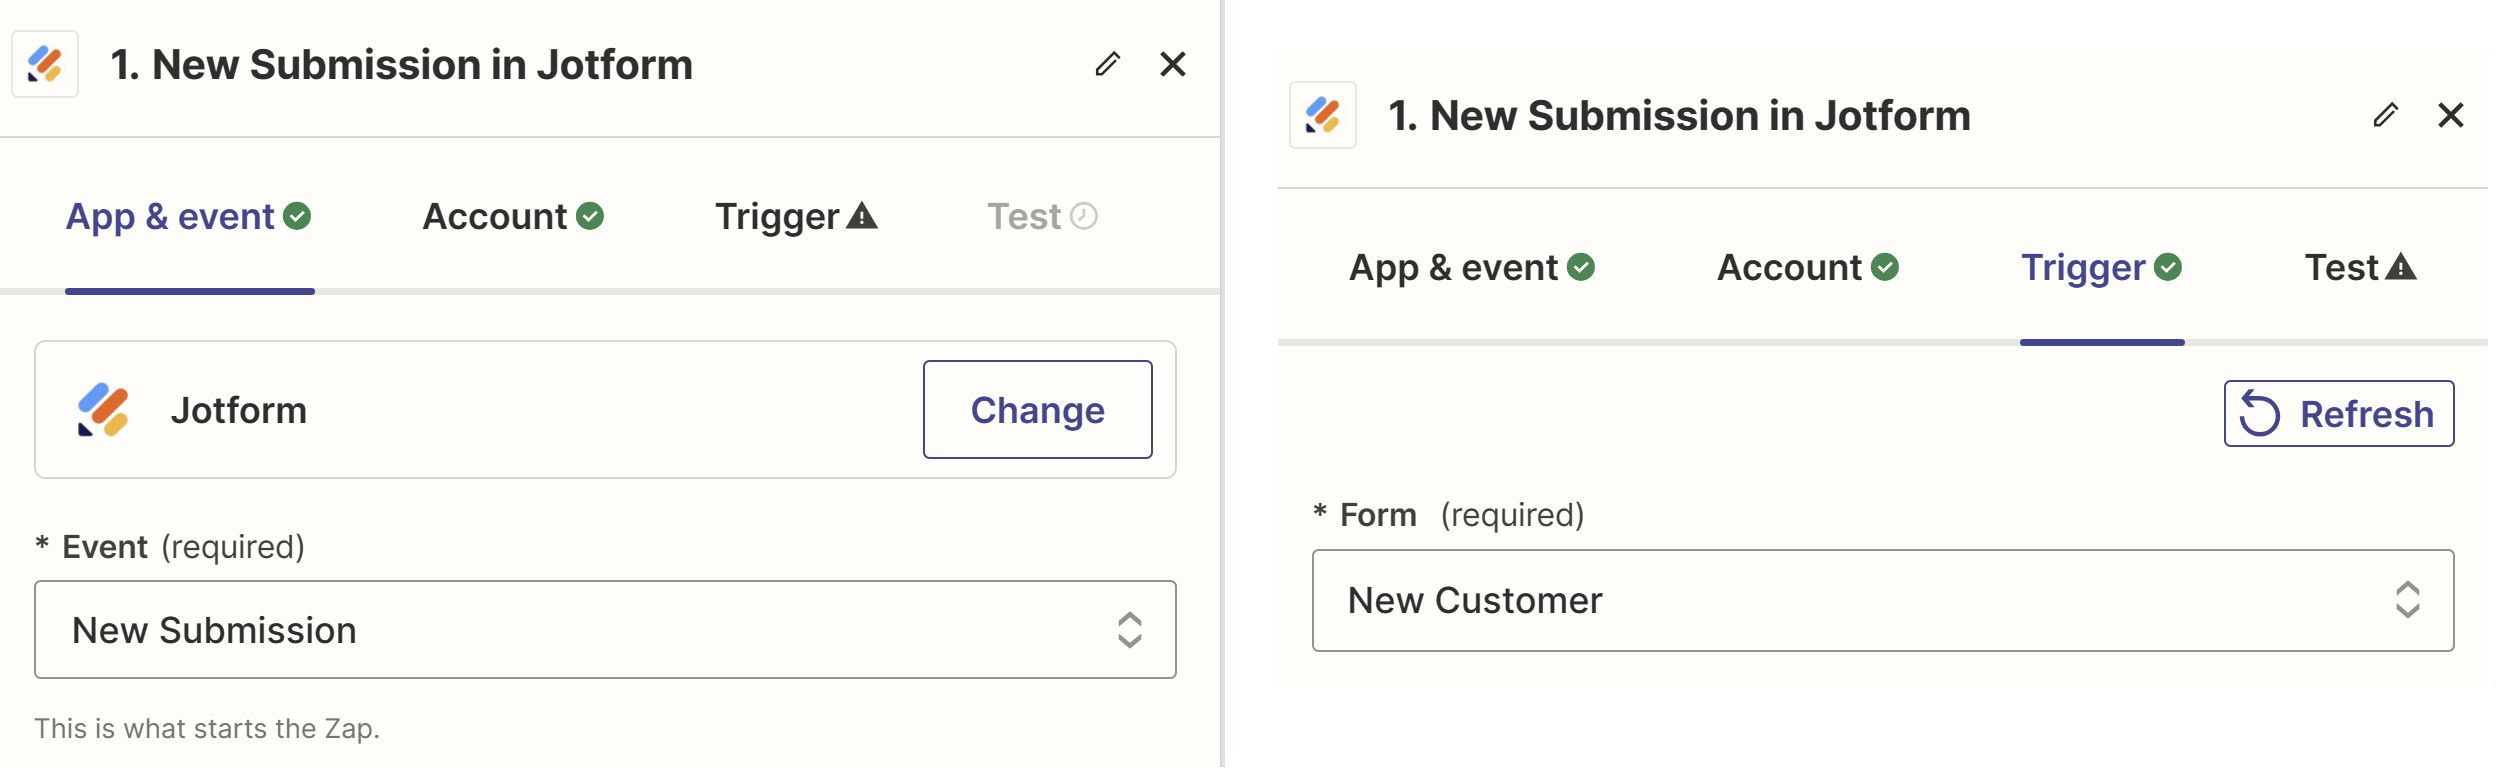
Create a new zap and select Jotform for the trigger node. Select New Submission for the event, proceed to adding your account then in the Trigger step select the form you would like to have submissions feed into the Zap.
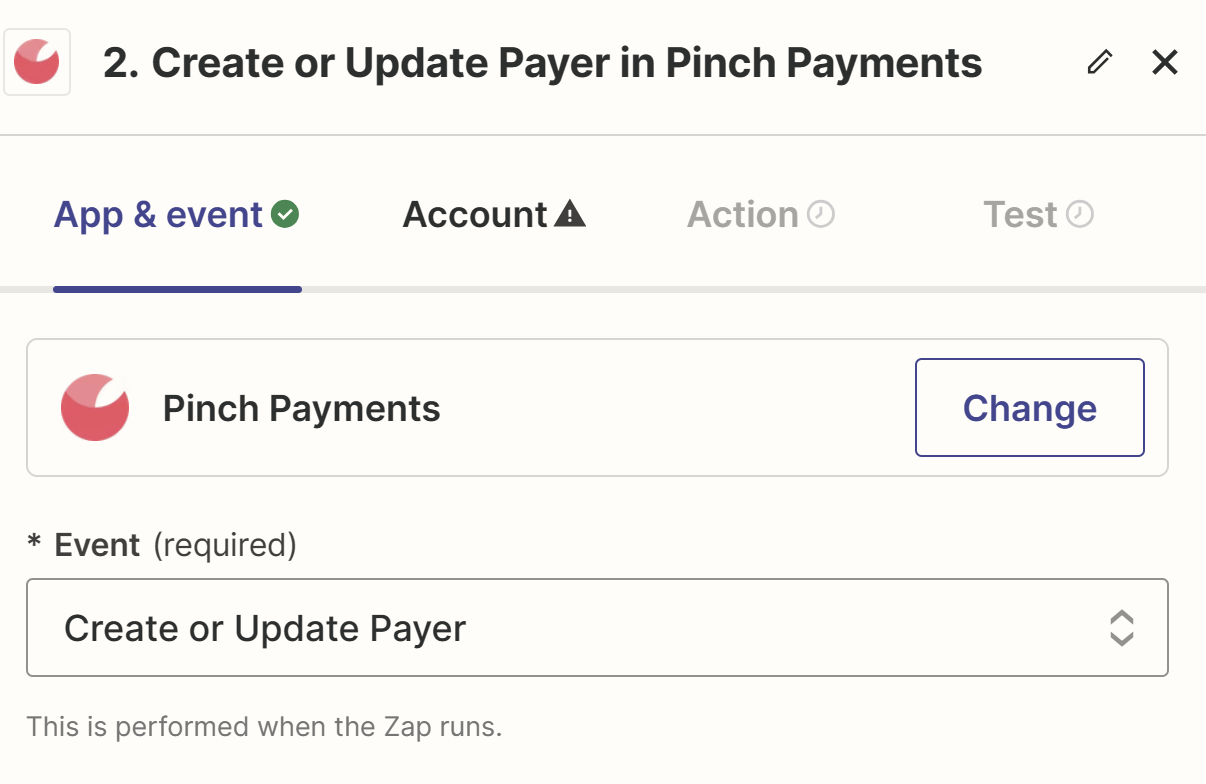
Now that the trigger node is setup we can connect it to the Pinch Action. Click on the next node in the Zap, search for Pinch Payments then select "Create or Update Payer" as the event in the node. Setup your Pinch account in Zapier if you haven't already (See Getting started with Pinch Zapier integration for more info).
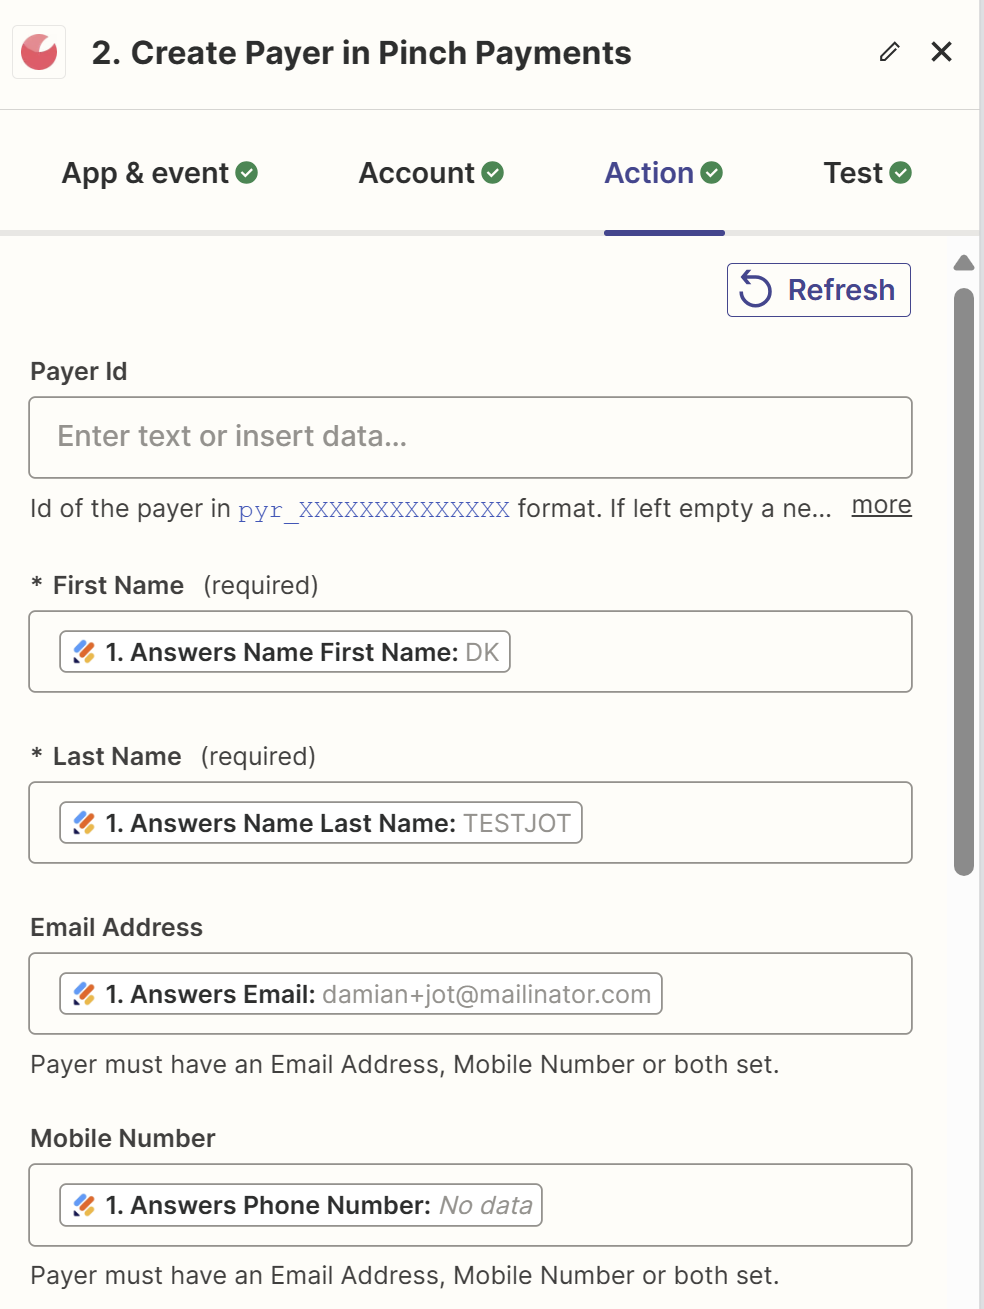
Now in the Action tab of the Pinch node, this is where we match up the data from the form submission to the fields for creating a Payer in Pinch. Here I have mapped the form fields for First name, last name, email and phone number to the relevant fields in the Pinch Create or Update Payer action (Note: leaving the Payer Id field empty here because we are always creating a new Payer for this example).
Once that is setup we can publish out Zap and now every time our Jotform is submitted it will run this Zap and create a Pinch Payer
Automating Payer Pre-Approval link sending
This example is similar to the above example where a form builder app is used with Zapier to create a Payer within Pinch. With an additional step that sends the new Payer an email with a link where they can create a new Pre-Approval.
Note: This example requires a Merchant portal account and a Zapier Professional subscription (because it is a multi-step zap)
For this example we will follow all of the same steps from the previous example but after the node to create the Payer in Pinch we create a new node.
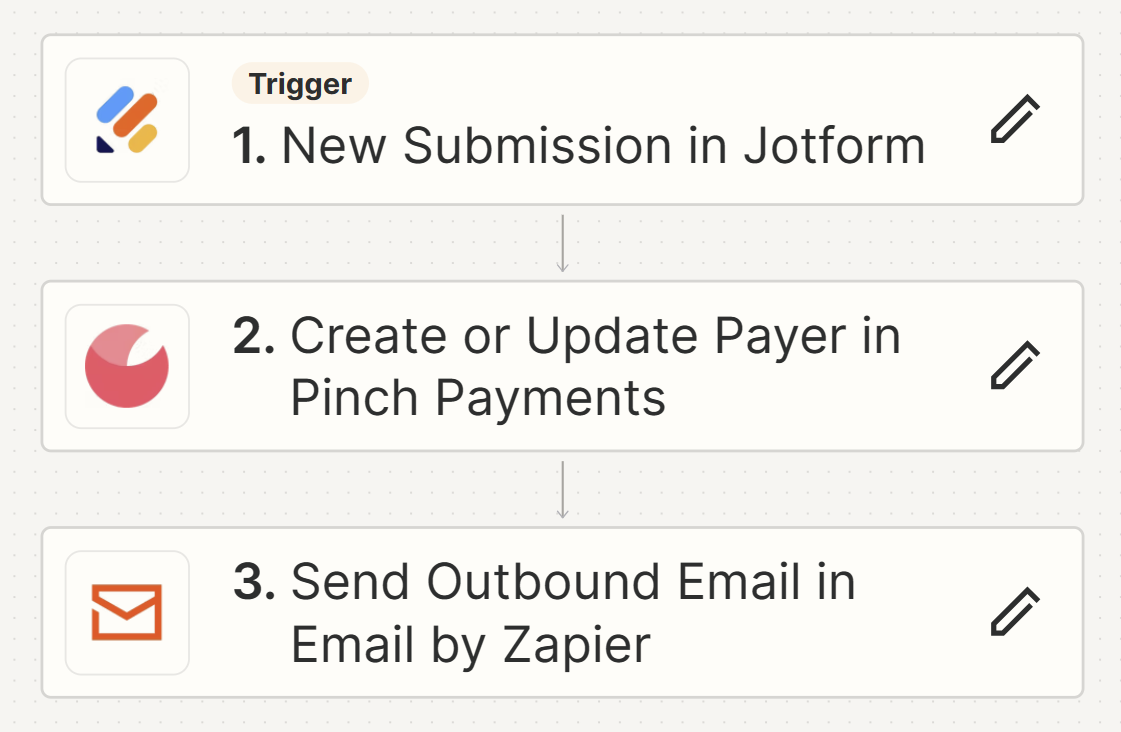
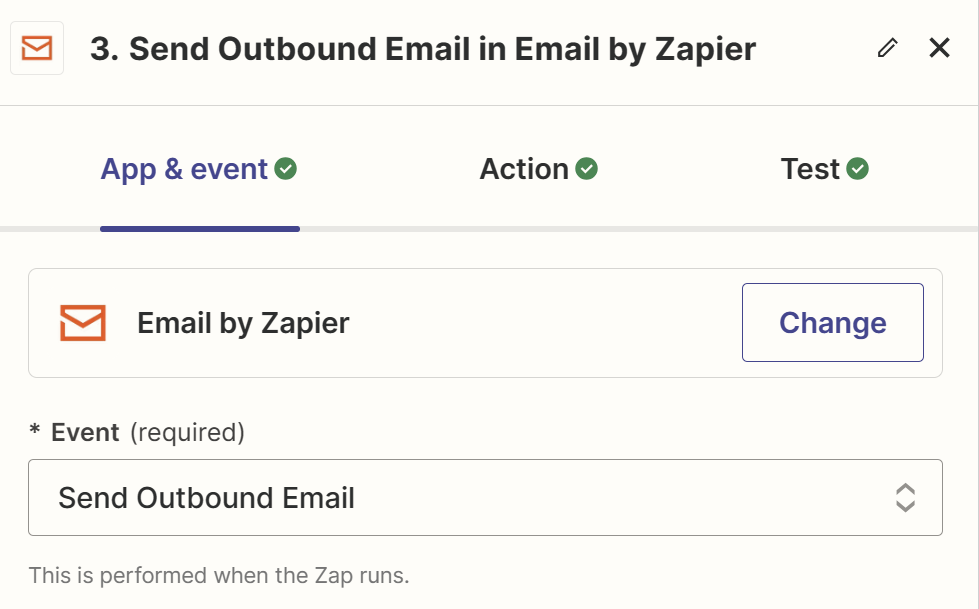
Add a new node underneath the node to create the Payer in Pinch and search for the "Email by Zapier" integration and select Send Outbound Email from the event list. In this example we are using the built-in email by Zapier action but you could use your own email provider instead.
This action will let you create an email to send to your customers and using the data from the Create Payer in Pinch node (and out Pinch Merchant credentials) we will be able to build up a Pre-Approval URL specific for this payer that will allow them to enter their payment details so their future invoices can be automatically paid. The Action tab for this event will contain all of the fields required for email sending such as To, From, Subject, body, attachments, etc. Feels free to fill these out as required.
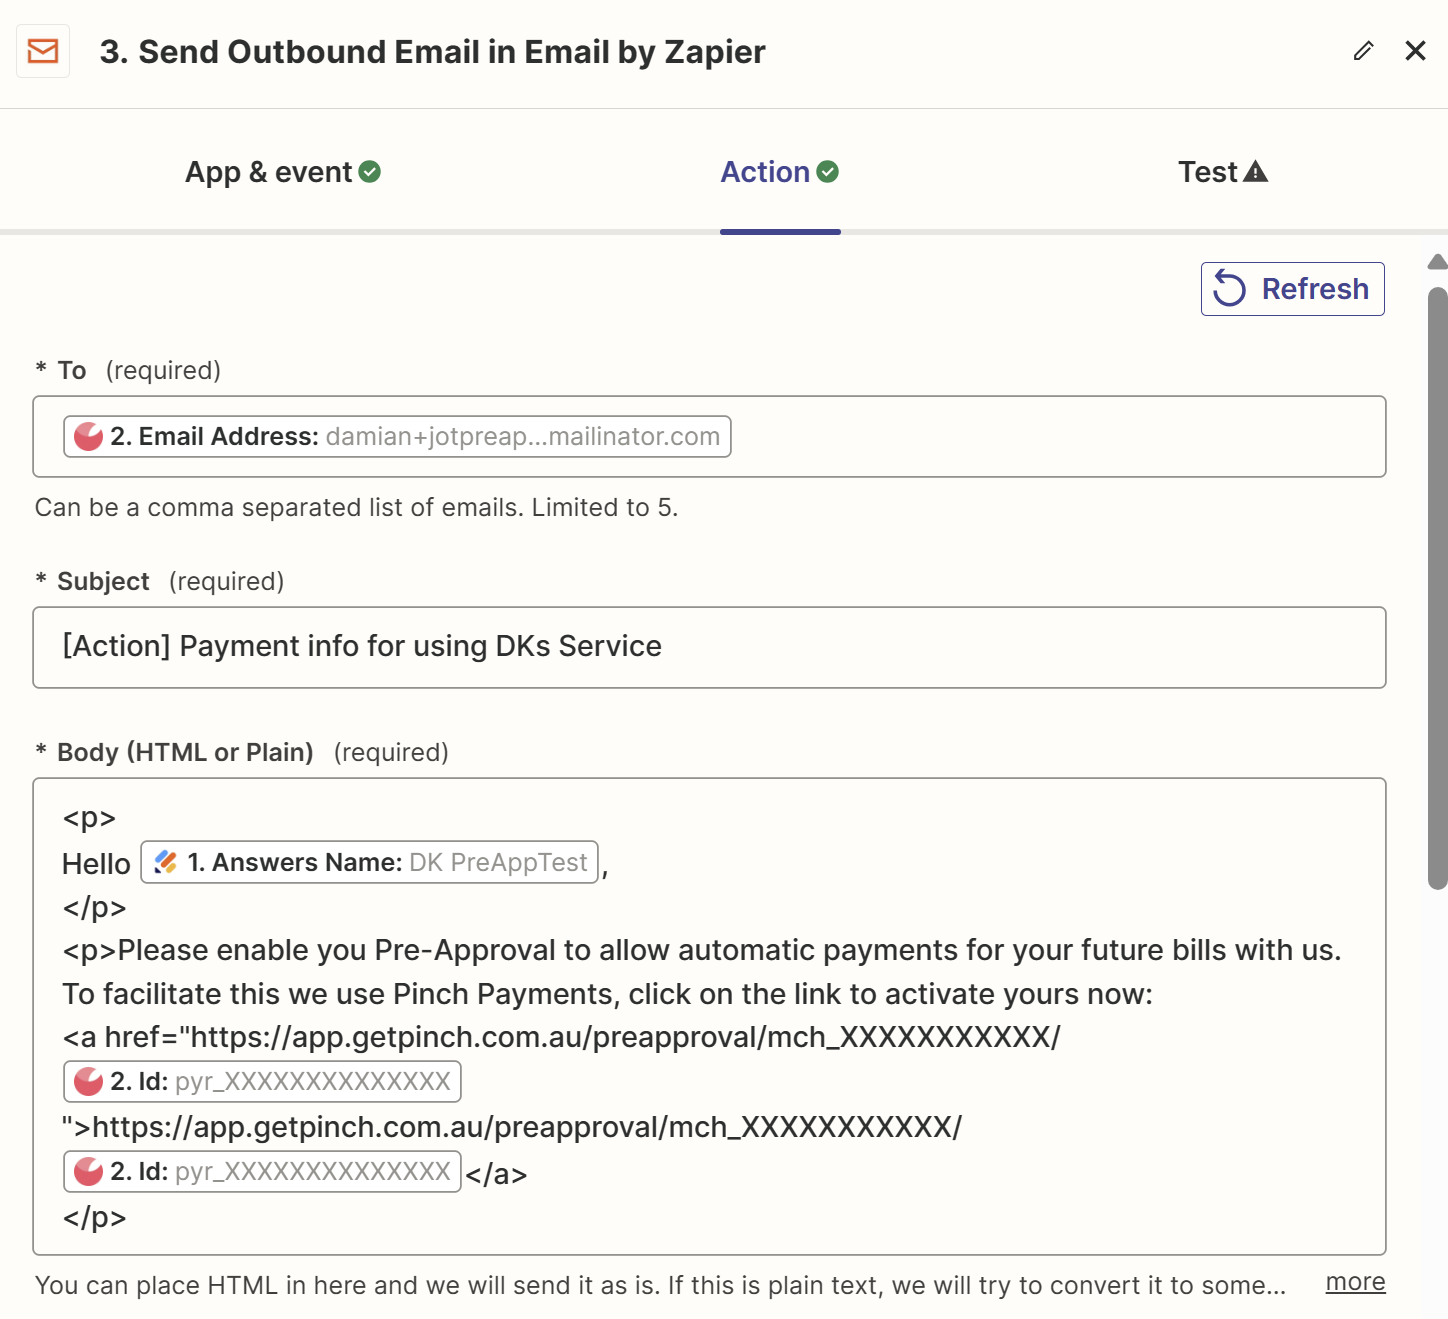
The important part of this example is the URL inside the email body that we are directing our Customers to so they can activate their Pre-Approval.

The structure of this url is as follows: https://app.getpinch.com.au/preapproval/<merchant-Id>/<payer-Id> where we replace the 2 url segments with our own data.
- merchant-Id - This is the merchant Id of your Pinch account. You would have used this to setup your Pinch account. Otherwise you can get this from clicking on the Pinch node just above in the Zap and clicking on the Account tab, the merchant Id is the value in brackets starting with
mch_ - payer-Id - This is the Pinch identifier of the Payer that was just created in the previous node (it's an identifier value starting with
pyr_). Use the insert data flyout here and look for Id under the Create or Update Payer in Pinch Payments section.
Now that step is done so we can publish our Zap. Once published this Zap will listen for form submissions for our selected Jotform, create a Payer in Pinch with the details and email them a link to add their payment details for automatic payments on their invoices.
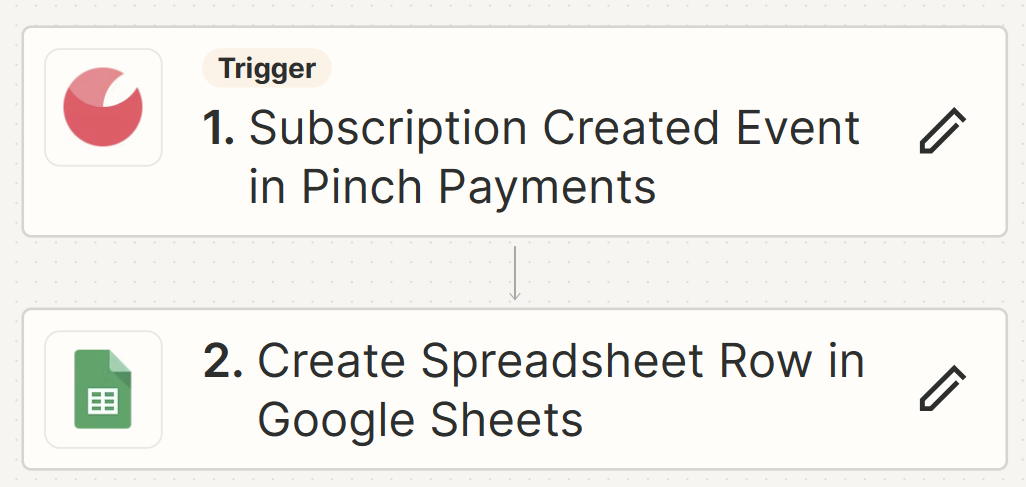
Save New Subscriptions to Google Sheets
This example outlines how to add rows to a Google Sheet when a new Subscription is created in Pinch.
Updated 7 days ago